
An Anxious Beginner’s Guide to Free Plants
Me, as a creep: (Opens trench coat) psssssst! Free plants?
They’ll do well in your garden! Guaranteed. And I bet you’ll like them, since you already have them…Whatdoyasay?
You, nervous: Suuuuure
Also me, but normal: Great! Because…
We’re Dividing Plants! (Don’t run away!)
The process itself seems pretty straight forward: lift, decide, divide, replant.
But really that translates to 16% physical exertion, 26% emotional preparedness, 44% traumatic experience, and 12% recovery.
Let’s take it little by little.
The worst that can happen is that you kill a plant that you like. If that makes things sound better for you, great, let’s do this.
If that makes things sound worse, nice job on your natural world empathy. But rest easier knowing that, in all likelihood, your plant (and new plants) will look sad for a few days and then start to perk up.
Remember, the plants want to live, they usually figure out a way, and are much hardier than we tend to give them credit for.
And y’all, there’s nothing in the natural world that mimics this process. It has that in common with its propagation sister: cuttings. So if just the thought of dividing plants feels unnatural, that might be why.
But go ahead, step outside, breath in the lovely day, and grab that torture device, I mean shovel.
First, though…
Before you start digging up a plant, take some notes:
We only divide perennials. Annuals are not worth the effort.
Also, get the timing right.
Early-flowering perennials – ones that flower in the spring and early summer – should be divided in late summer, preferably fall.
Summer and late-summer-flowering perennials can be divided in the spring.
Essentially, we want to avoid dividing the plant right before or during flowering. That’s like the holiday season for them. You could imagine how disruptive hacking into their roots is. It would be like throwing in a cookie exchange on the same day you’re taking your kids to see Santa, attending the Nutcracker, and going to the office holiday party. Could anyone survive that? Without drugs?
Alright, let’s do this…
Assuming we stepped outside on an appropriately timed day and have grabbed our shovel, let’s approach the fated plant. No, you did not just see it tremble, that was just a slight breeze. I’m pretty sure.
If you do sense fear in the plant, maybe do something that will make you seem piteous. For instance, try talking in tongues if you know the neighbors are around. This will help the plant feel like it’s not the only one going through something.
Now that you’ve arrived, add to the plant’s ease by giving it a nice pat and explain that you’ll be giving it a new life. But the process might cause some discomfort, even a touch of pain. It may take time to recover, but at the end of it, it’ll have a ton of new friends. At this point, it may require clarity that this is not plastic surgery.
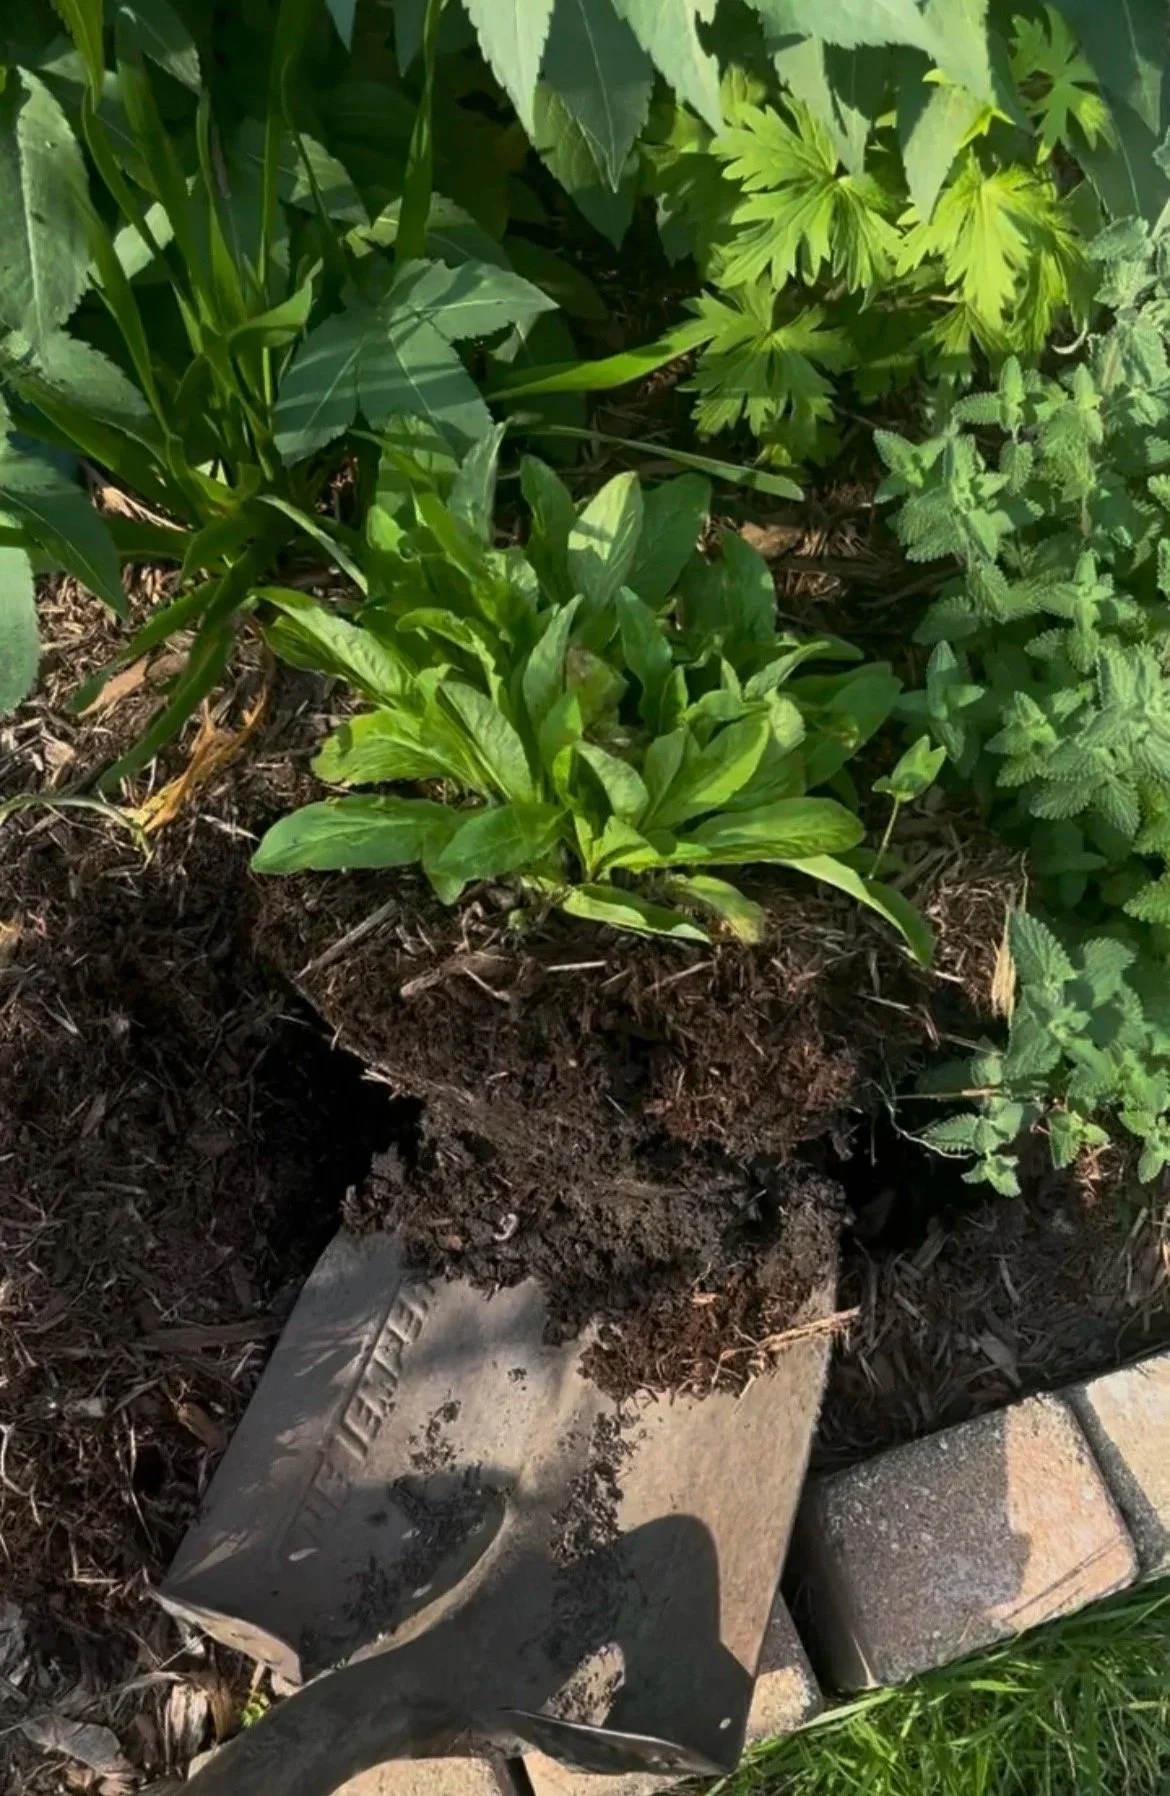
Lift
And proceed: using your shovel, start to dig the plant up. Dig around all sides to loosen up the roots, and then dig under the plant and lift. This may take a few goes if the plant is particularly well-endowed at the roots.
Decide
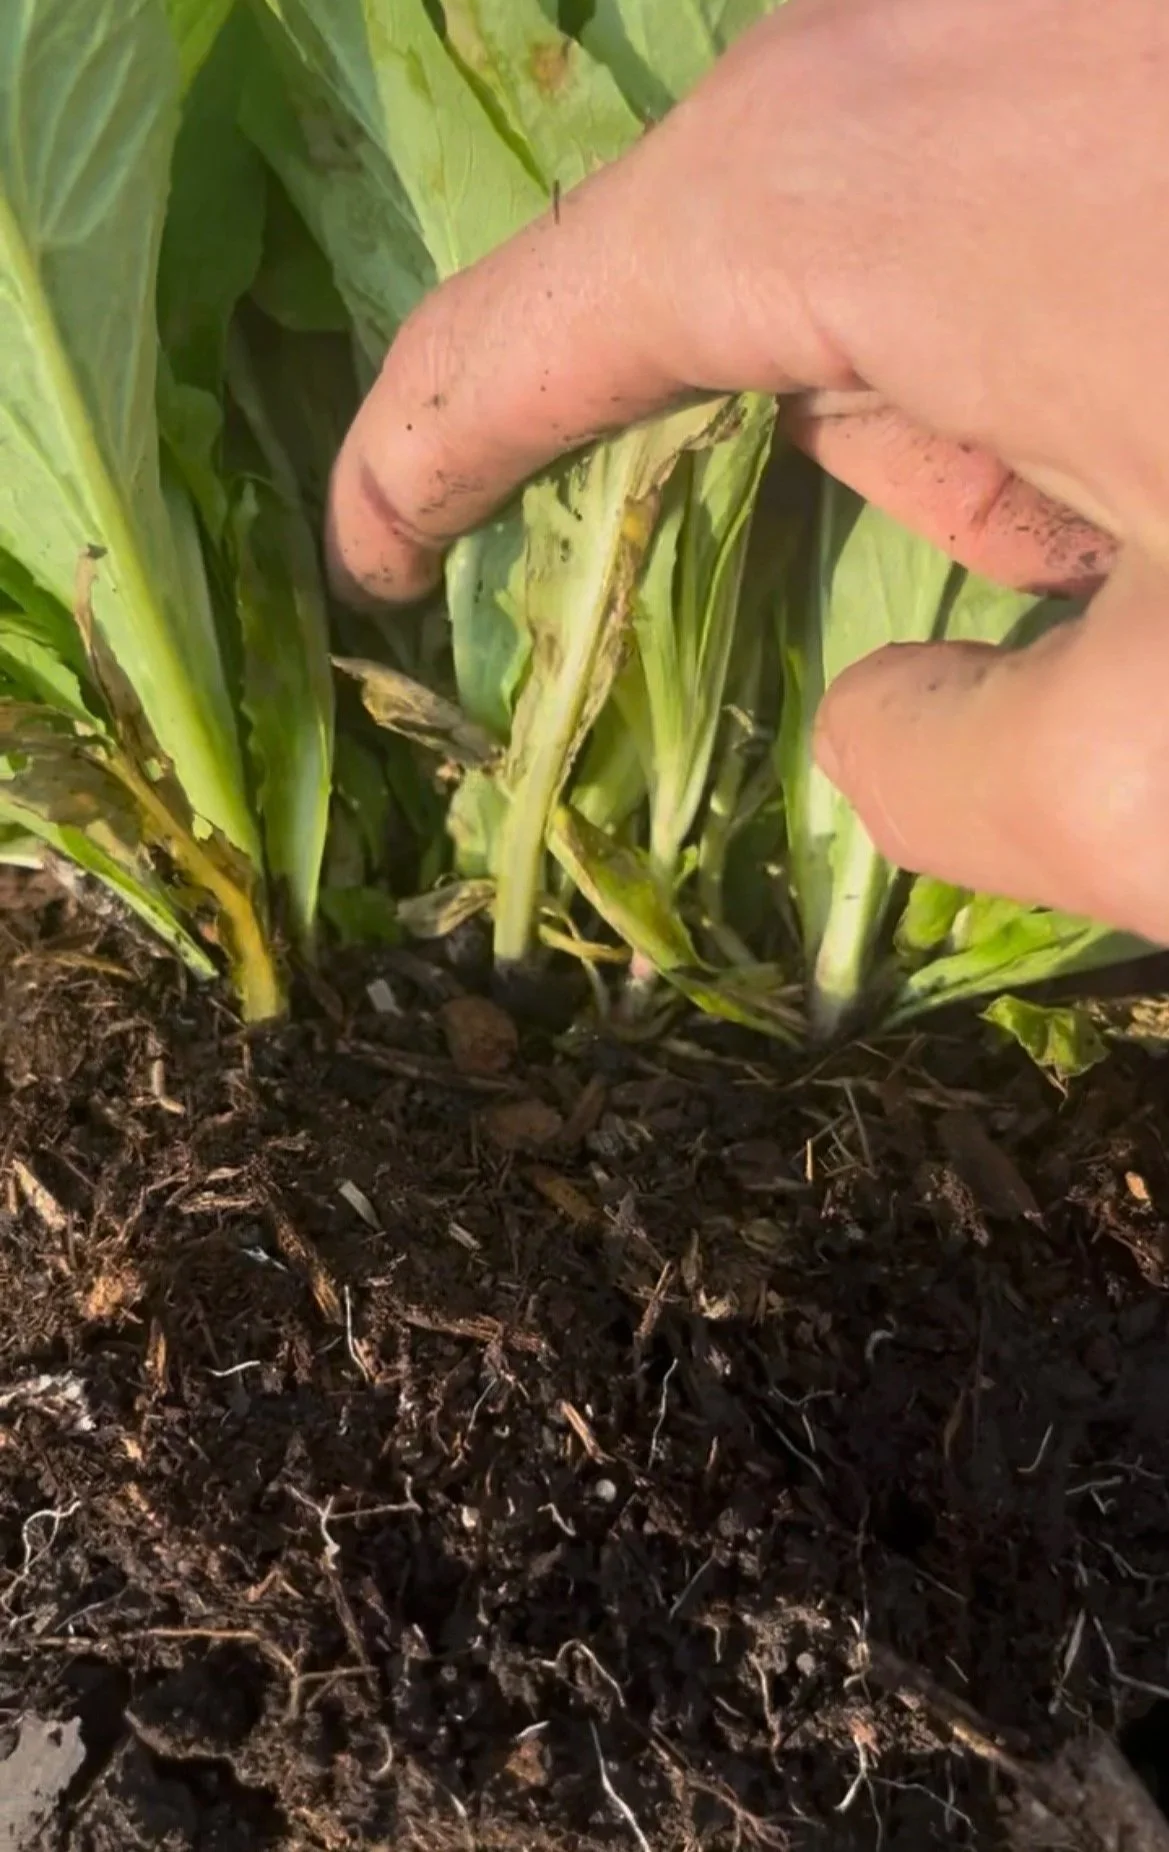
Having lifted out the plant, rest it on the ground. Consider where it could be divided. Look for natural splits, almost like where your hair naturally parts. A smaller plant will have fewer good places to divide than a larger plant. But, to be honest, if you accidentally hack off a tiny section and it still has roots, it could – for all intents and purposes – grow up just fine.
So really, who’s to say what is the “right” amount of dividing? Consider your wants. Let’s say you have a pretty small clump of a plant. You’d like to see some decent growth this year from the parent plant and the divisions. Well, consider fewer divisions, make two cuts for a total of three plants.
If your goal is to just get as many of the same plant all around the garden to start establishing for next year, and you’re okay with low-visual impact this year, then by all means, make more divisions.
Divide
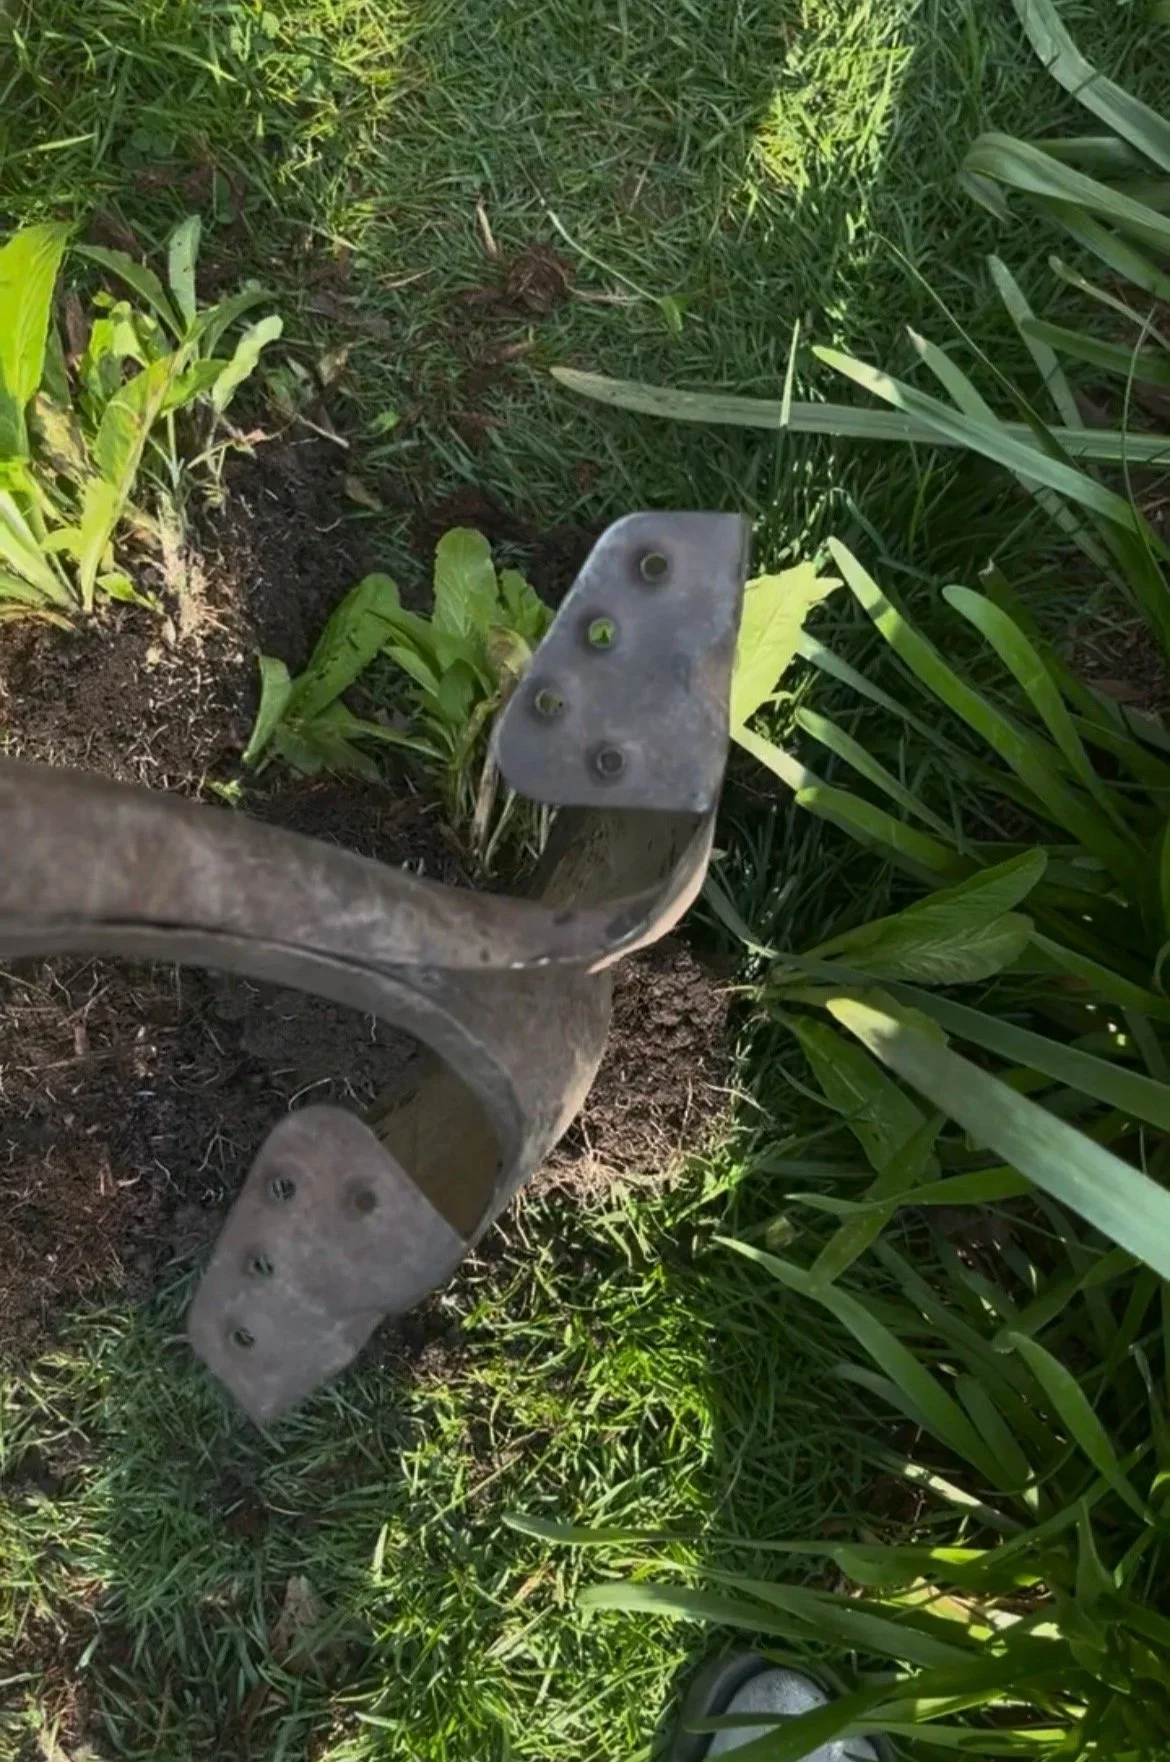
I use a shovel. Gardener’s World says to use two pitchforks back to back and pry them apart. Another option is a garden saw. Try them all and see what works best for you.
I prefer the shovel method because it’s quick and works well. But if I have a particularly stubborn root ball (this happened to me with sword fern), I’ll use the saw. I don’t have two pitchforks, so I’ve never tried the Gardener’s World option.
I position the root ball on its side, aim the shovel over the spot where I want to divide, and rest it lightly on that spot so I don't miss. Then, for just a second, I imagine the plant is the patriarchy, and then I bring my foot down…hard. Right through the heart of the manosphere. But now it's back to being a plant, and we need to take quick care of it.
Quickly make whatever additional divisions you had planned.
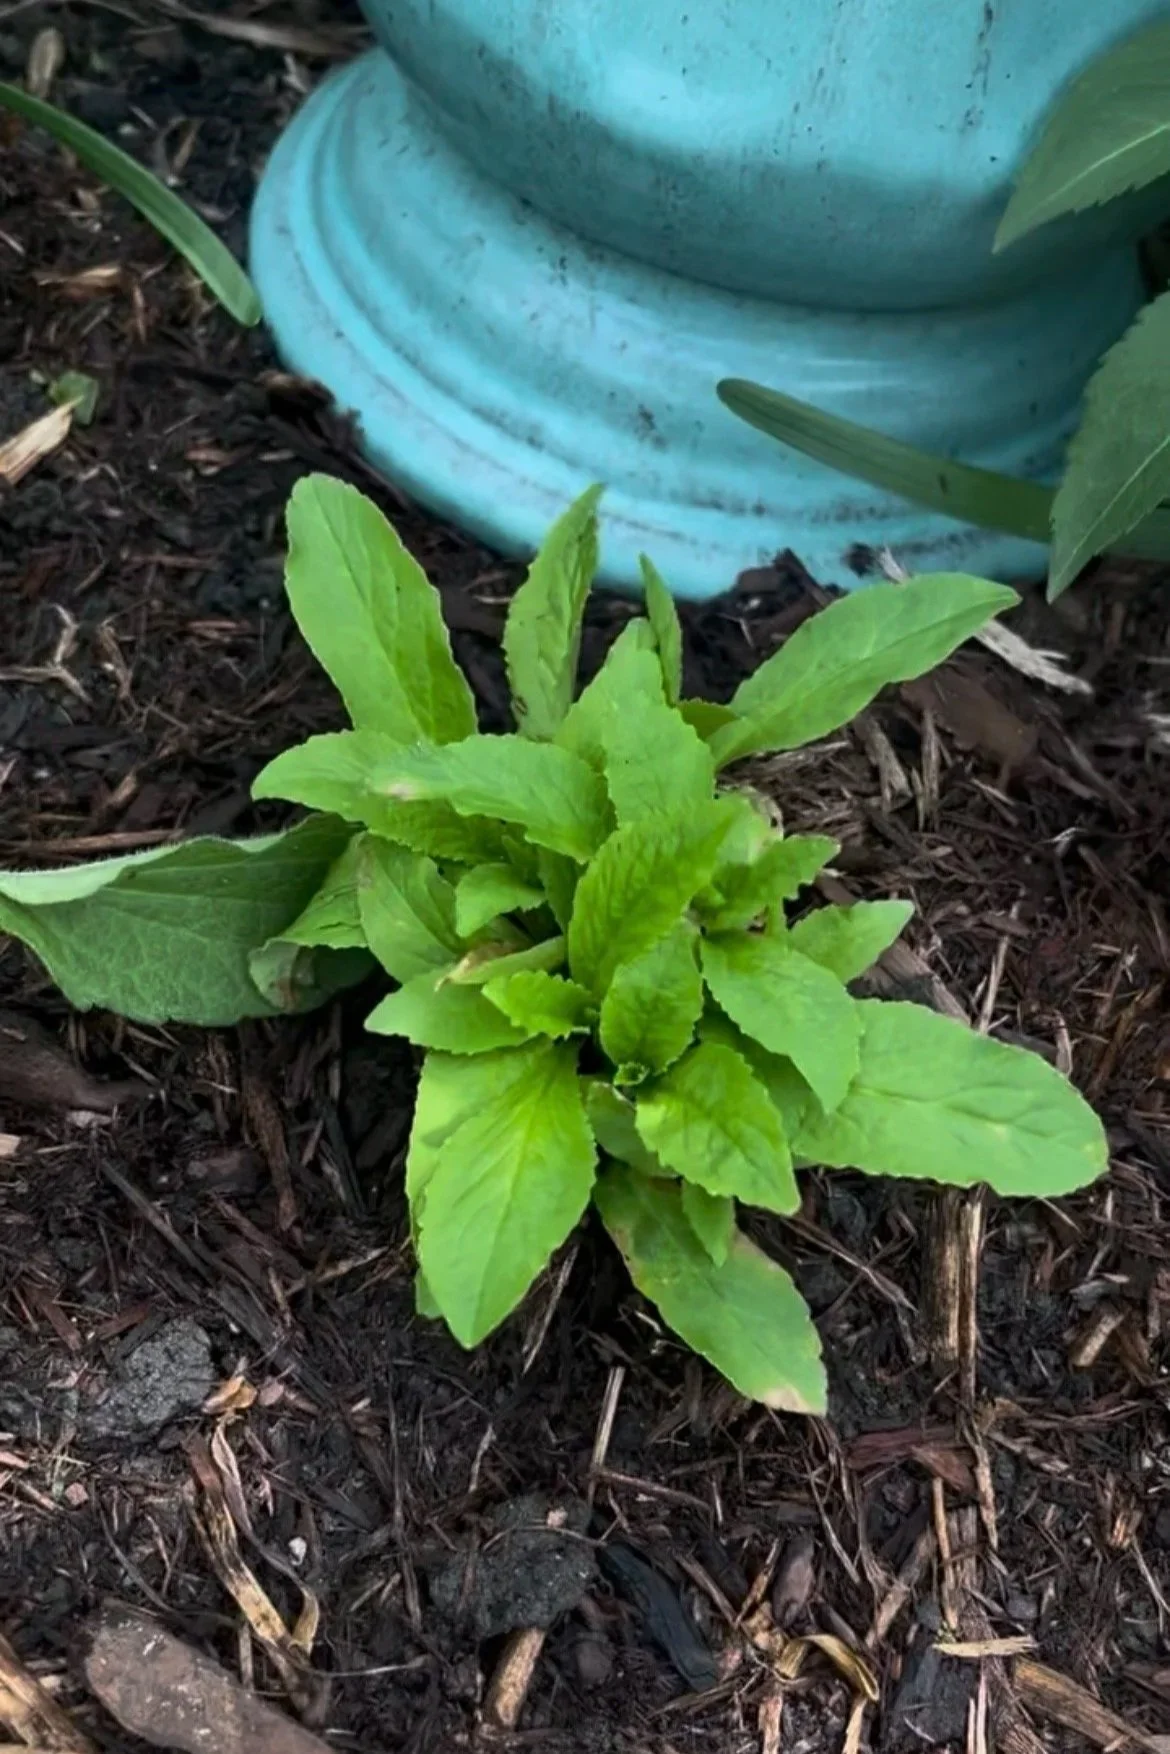
Replant.
If you know where you’re replanting them, dig them in immediately. If you’re undecided, put them in temporary pots with some extra garden soil.
Soak those babies with water immediately. Not a sprinkling from above, but a deep soak right at the base. Keep a close eye on them throughout the day and the next few days. A bit of wilting is normal; a lot is not. If you see dramatic sadness, try adding more water.
Well done!
And now, shake your own hand. You have successfully divided a plant. You and your plant are both alive and thriving. And you both have more plant friends. Life is good. Now go find another plant to divide.