
6 Native Seeds to Sow Now that will Bloom this Year!
Don’t let anyone tell you that you can’t garden in Winter!
It’s a cold, snowy day. You’re noshing on another leftover holiday cookie and staring out the window, gazing upon Aragorn. The snow casts a glow as he drops to his knee and…picks up a pile of shit. It's not Aragon, it’s Daryl from down the street, and his dog Chap, the yippee bastard. And the glow? Just a snowplow barreling by.
What a disappointment. And as you drop your eyes to sulk, there’s another disappointment, the empty swath of snow that represents the void where “a perfect wildflower bed” would be. “Let’s add it to our list of projects!” you said two years ago.
But what if Aragon - or, okay, let’s be realistic. What if Jeremy Allen White did walk his dog past your house in between shoots of The Bear (this might actually happen in Evanston). Wouldn’t we want to have a more romantic scene at play when he professes his undying love? Floating wildflowers that dance on a soft breeze would be so cinematic. There will inevitably be swaths of photographers all around, so we need to be prepared.
Okay fine, we’ll do the wildflower bed this year. But we need it cheap and we need it fast. Our wallets are dusty and Jeremy is probably around the corner.
Winter Is the Perfect Time to Start
You read that right. Winter is ideal for sowing many plants. And we love sowing from seeds because it’s dramatically cheaper than nursery plants—$3.50 for dozens of potential babies vs. $8 for one sad little pot. But the best part is, with winter sowing, going outside is optional.
Many perennials and some annuals need cold, moist stratification to achieve germination. Boiled down, this just means copy Mother Nature.
When a flower drops its seeds, it will often sit on the ground and refuse to come up until it’s been smacked silly with some brutal winter. Seems a bit masochistic to me, but whatevs.
Depending on the plant, this period—called stratification—will typically lasts 10, 30, or 60 days. This time frame may determine when you start this process. Generally, start a 60-day period in January or February, a 30-day period in February or March, and a 10-day period can be done in March or early April. Regardless, this means order your seeds now, and you’re just in time to sow.
Let’s copy Mother Nature (cold moist stratification):
Sounds complicated, but it’s so easy:
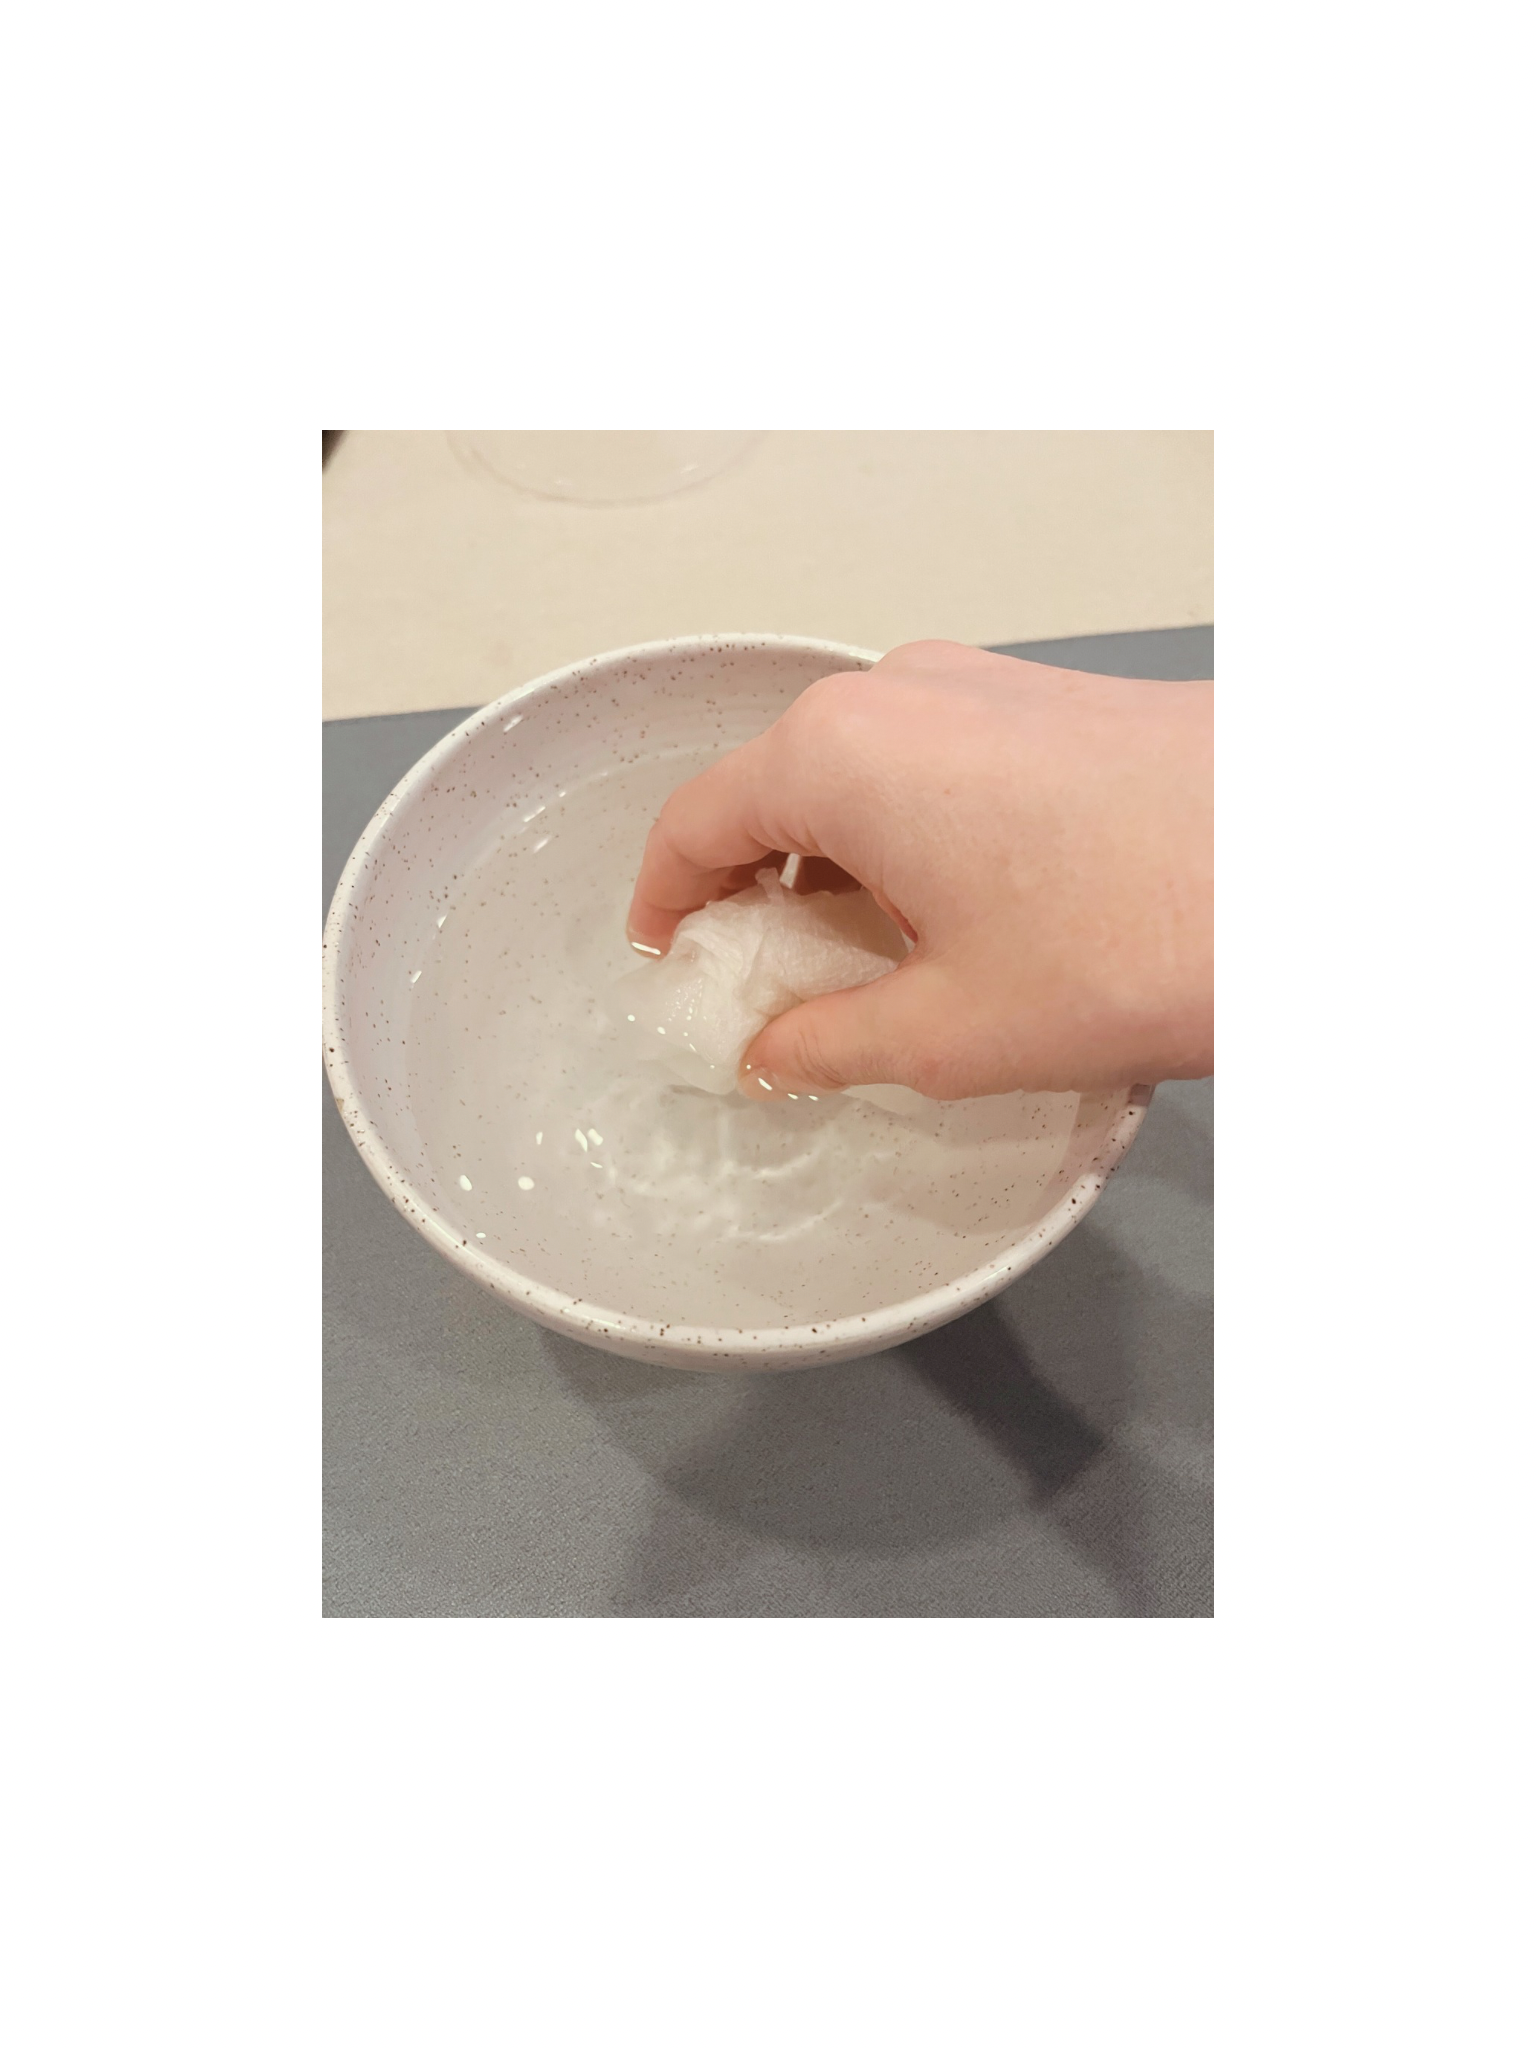
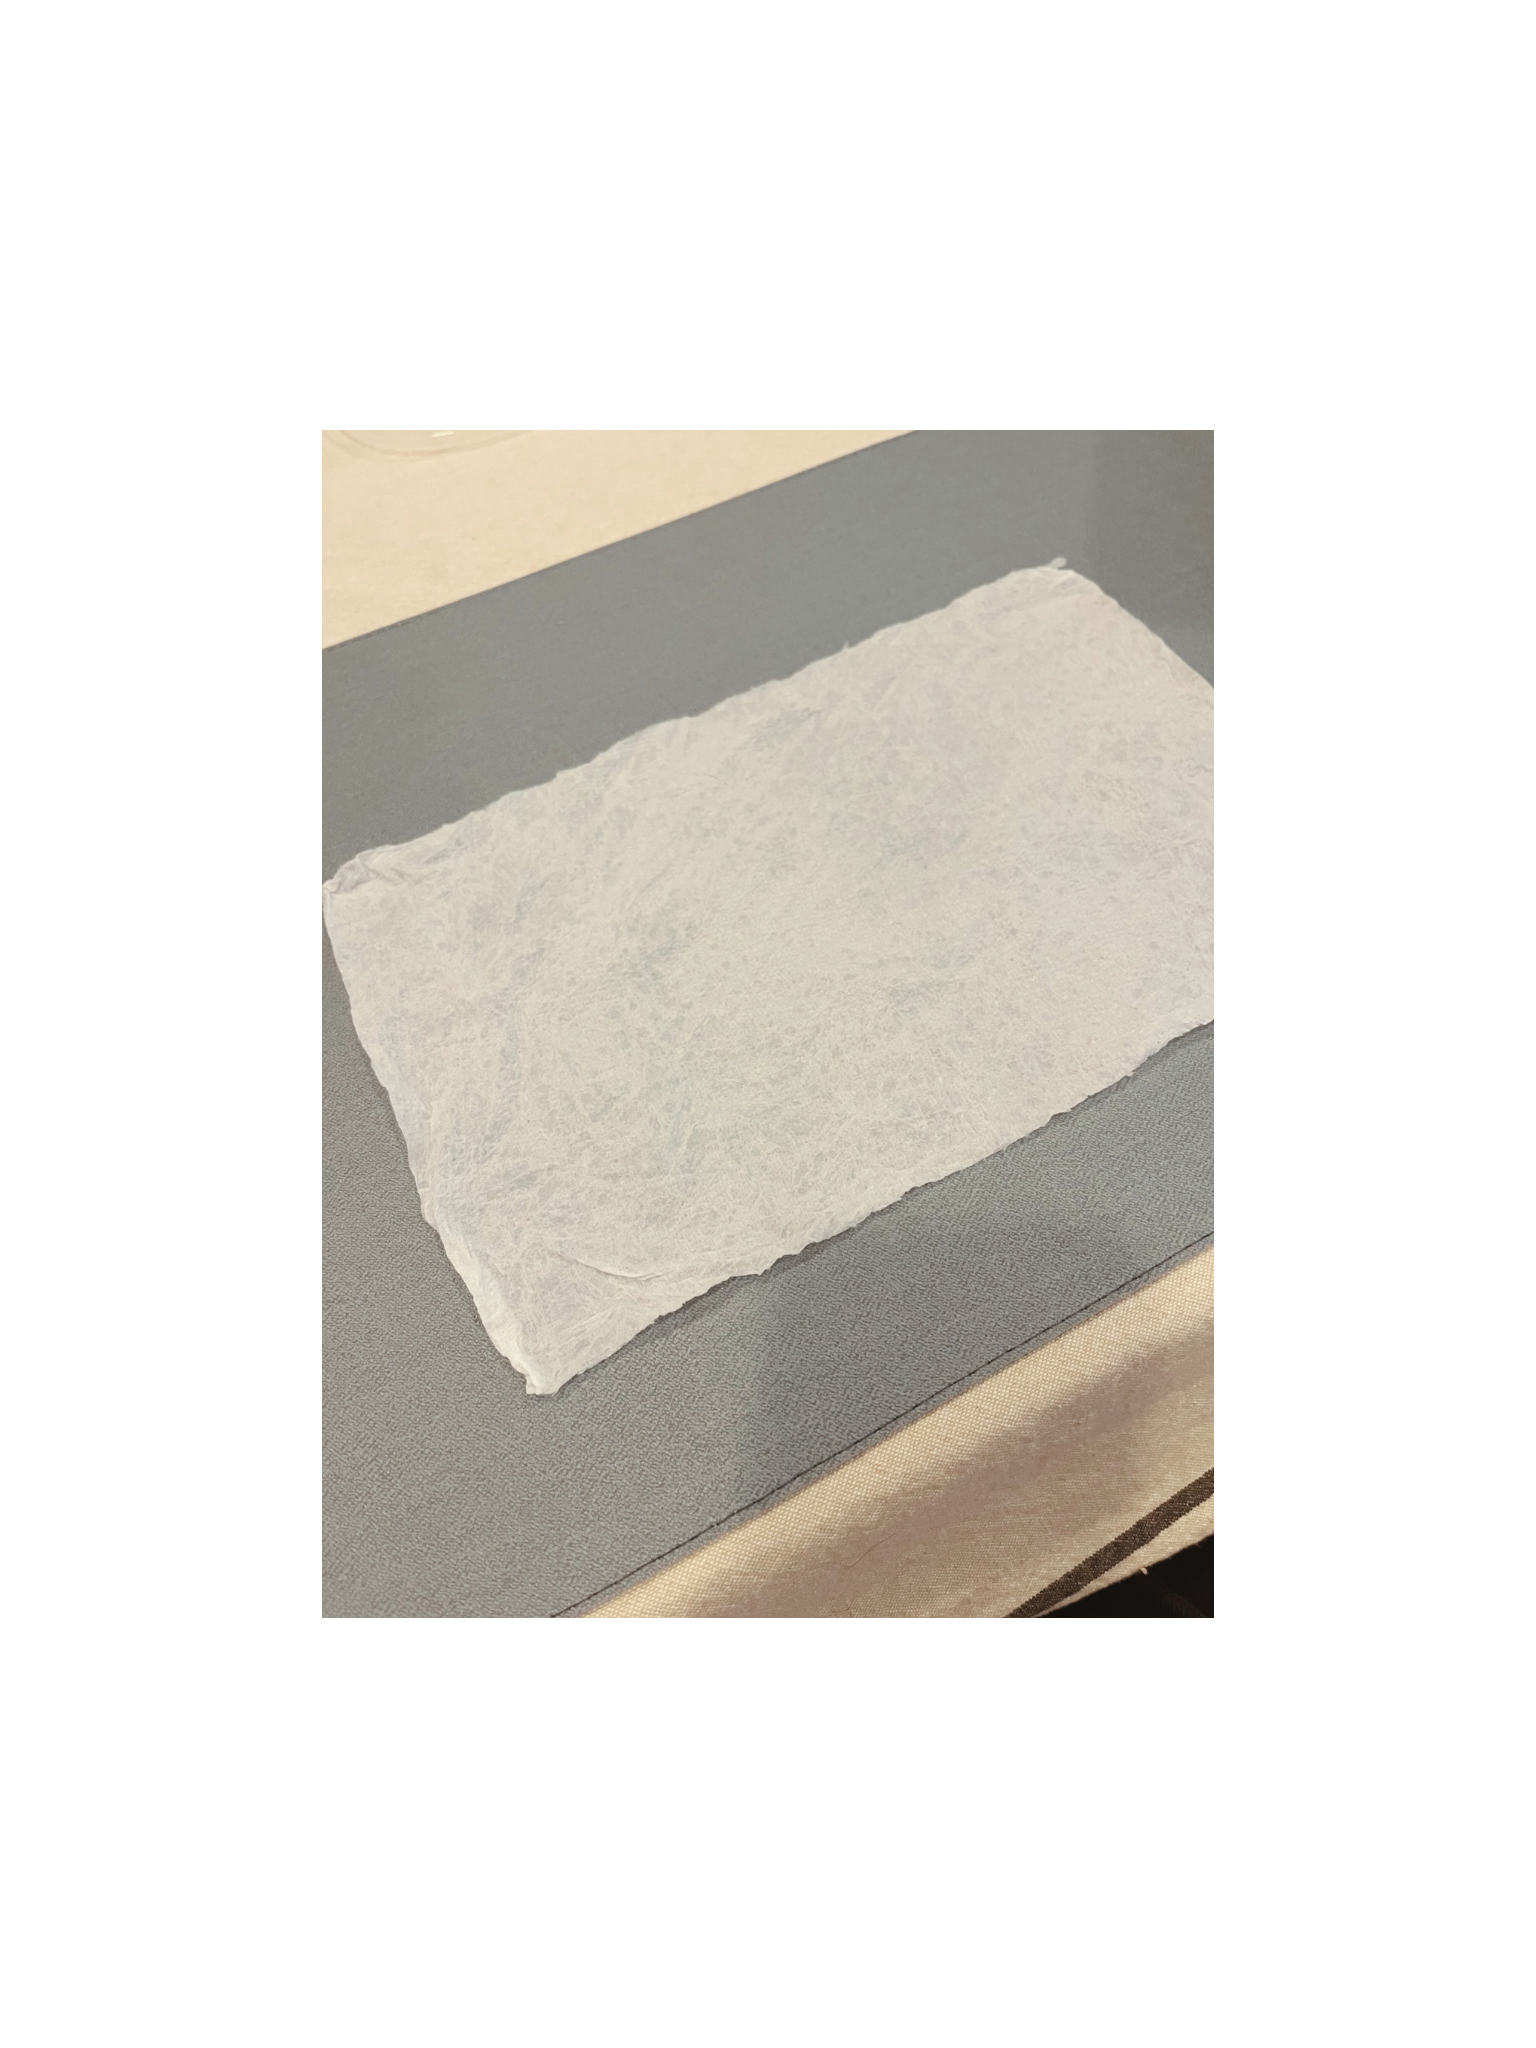
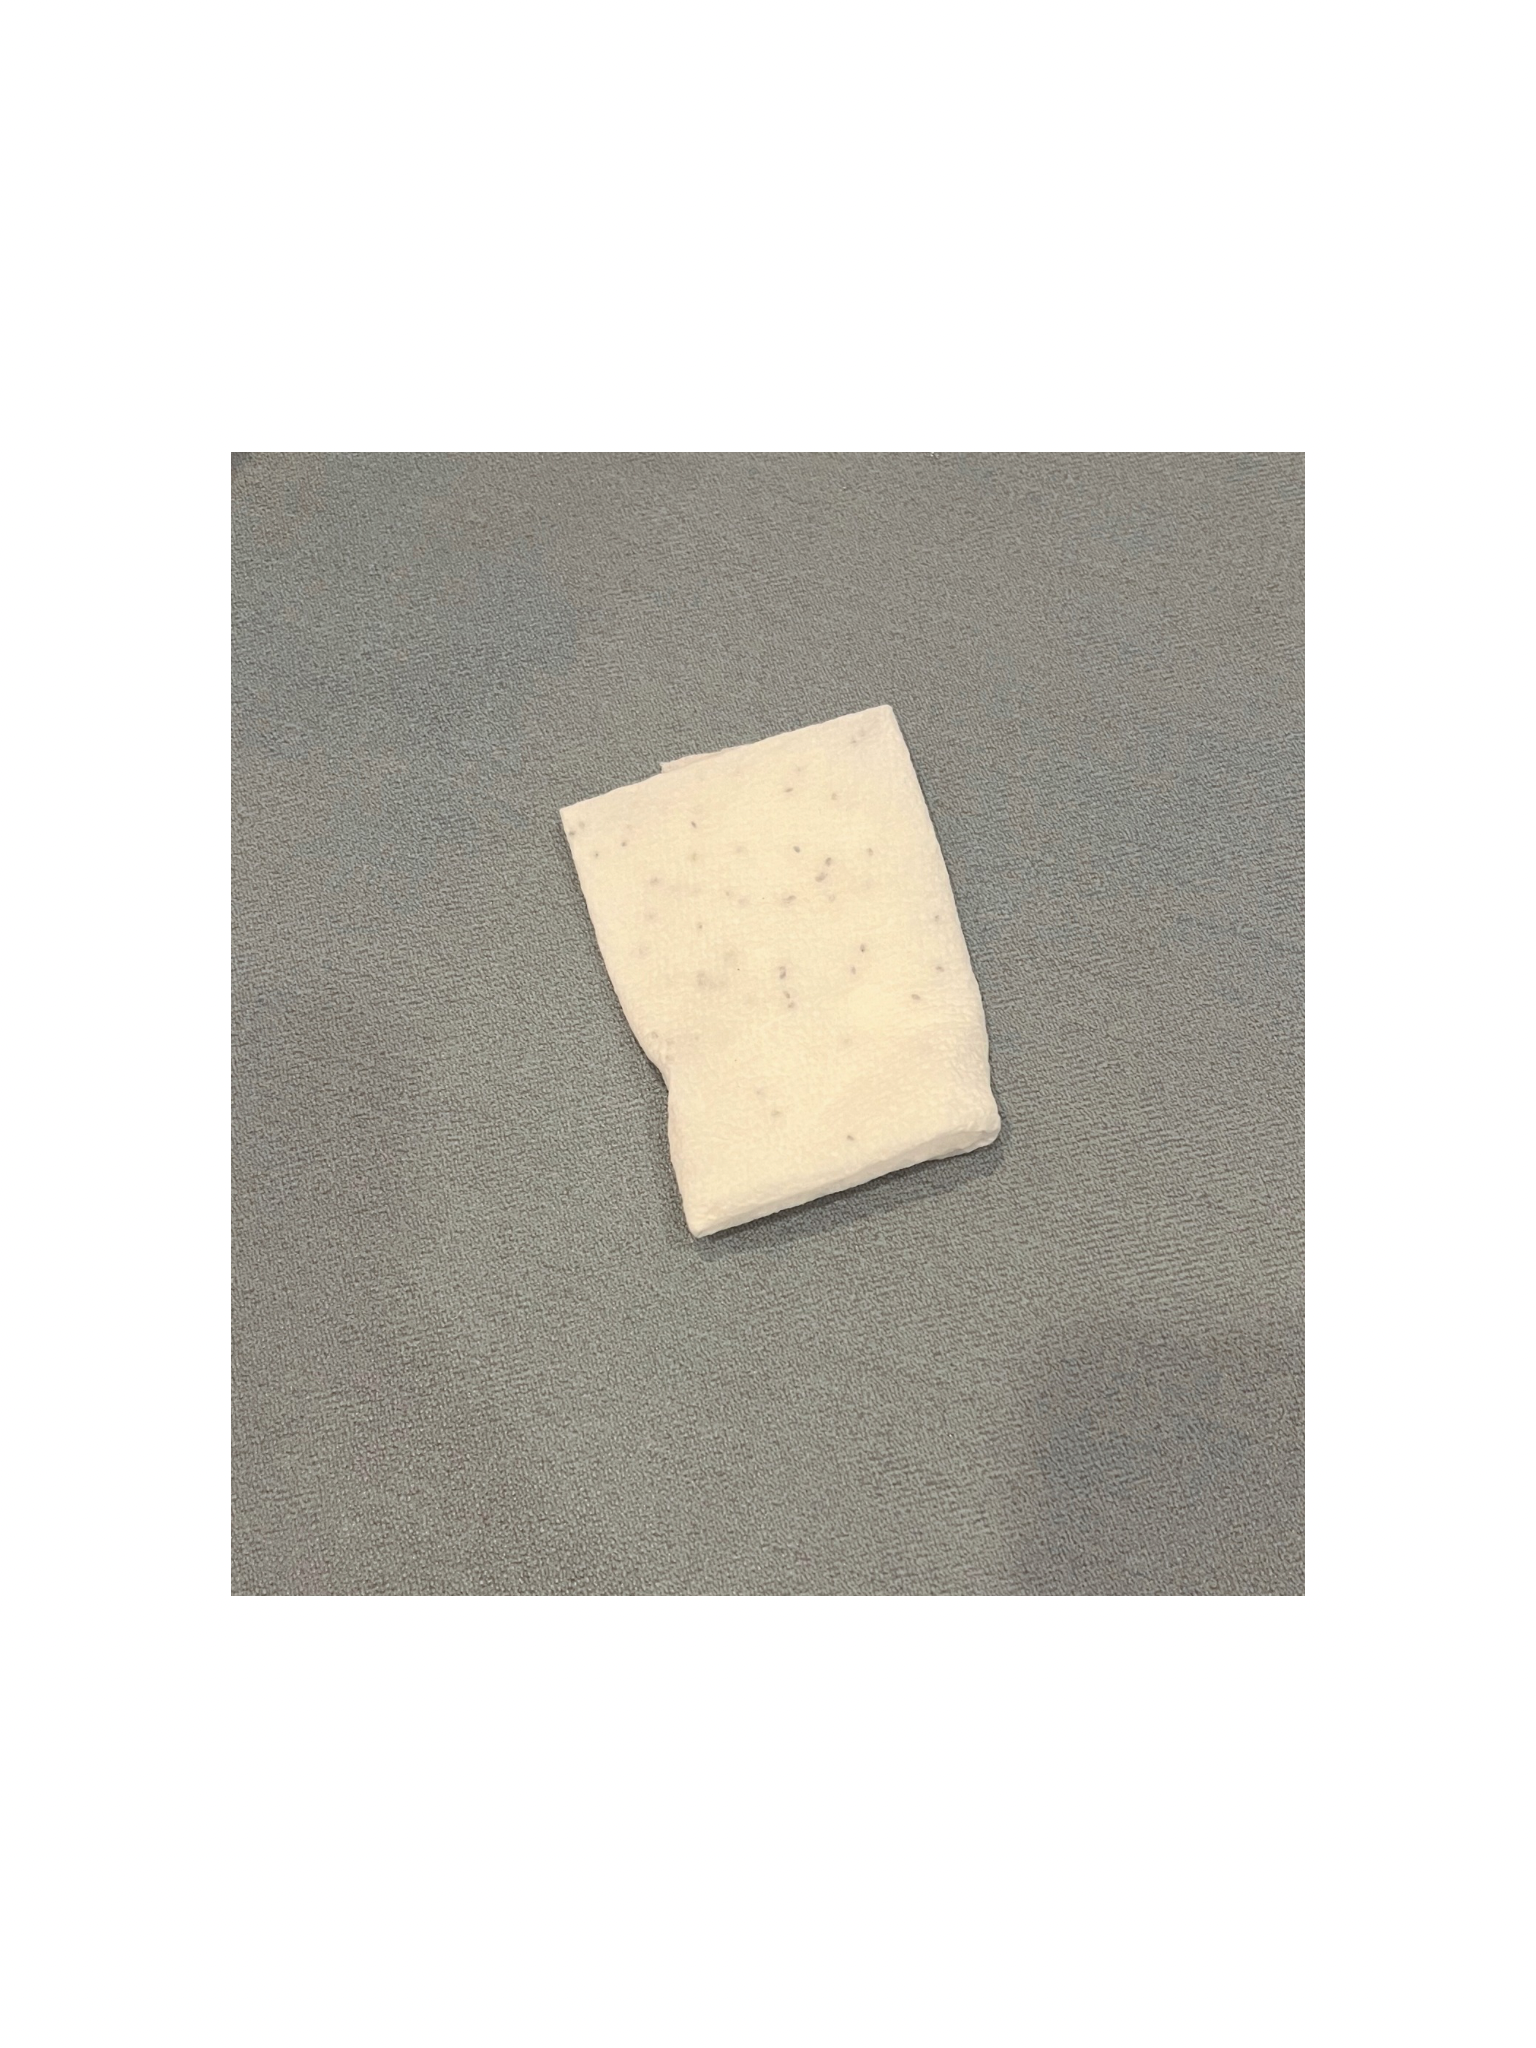
Grab a paper towel
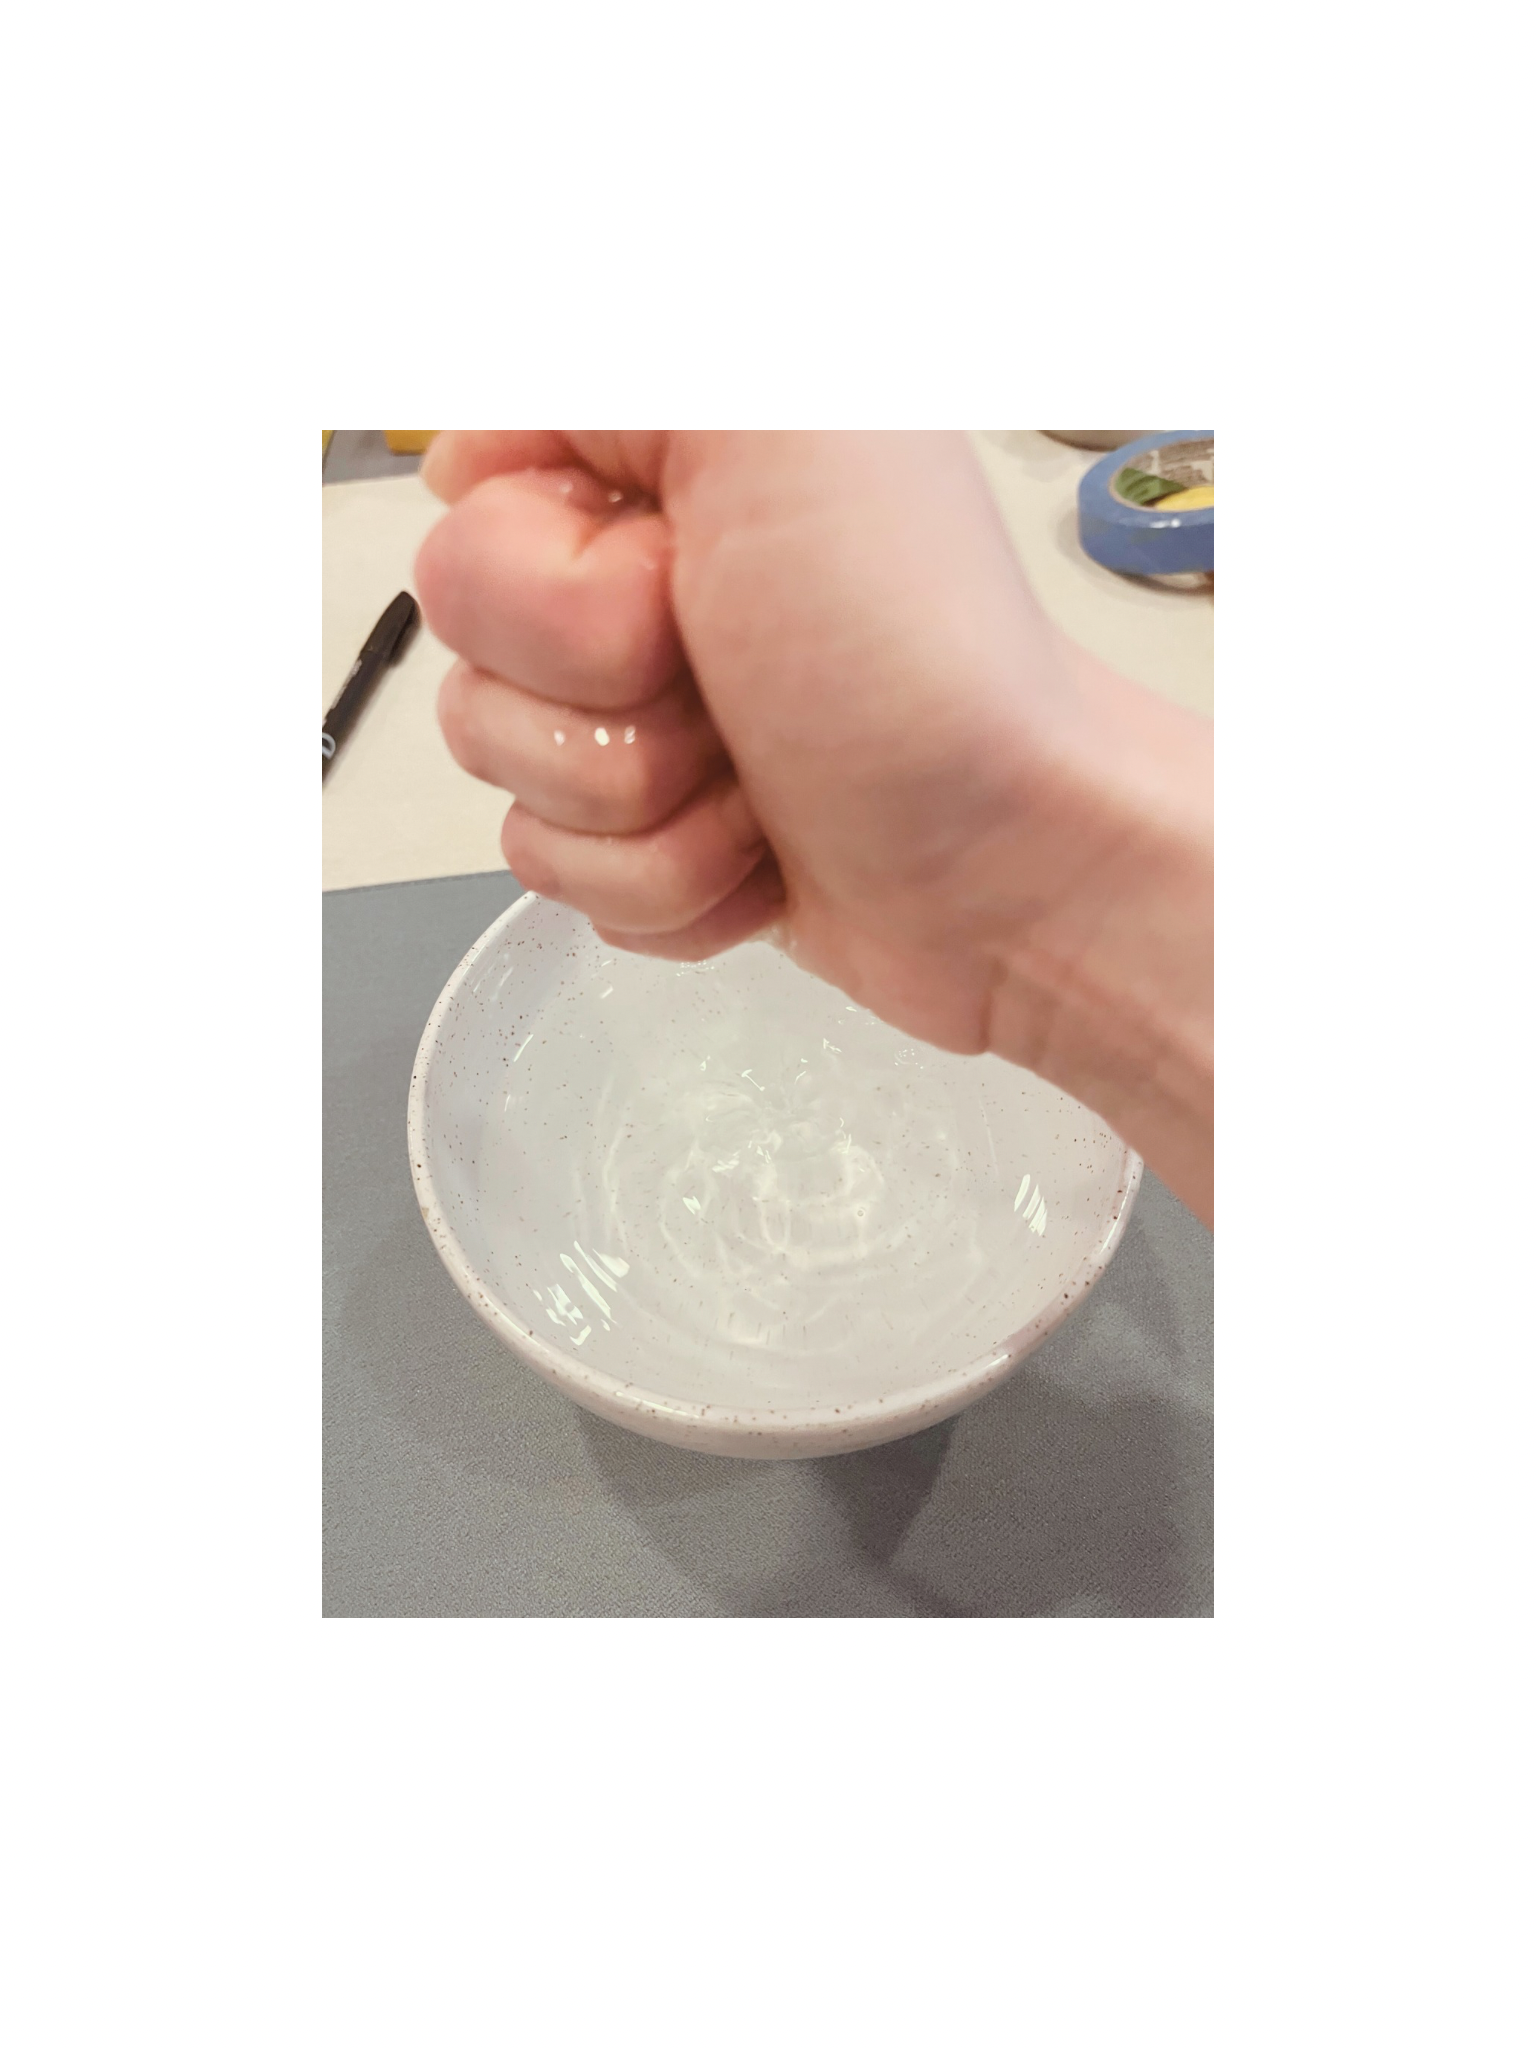
Wet it slightly (damp, not soaking) and flatten out.
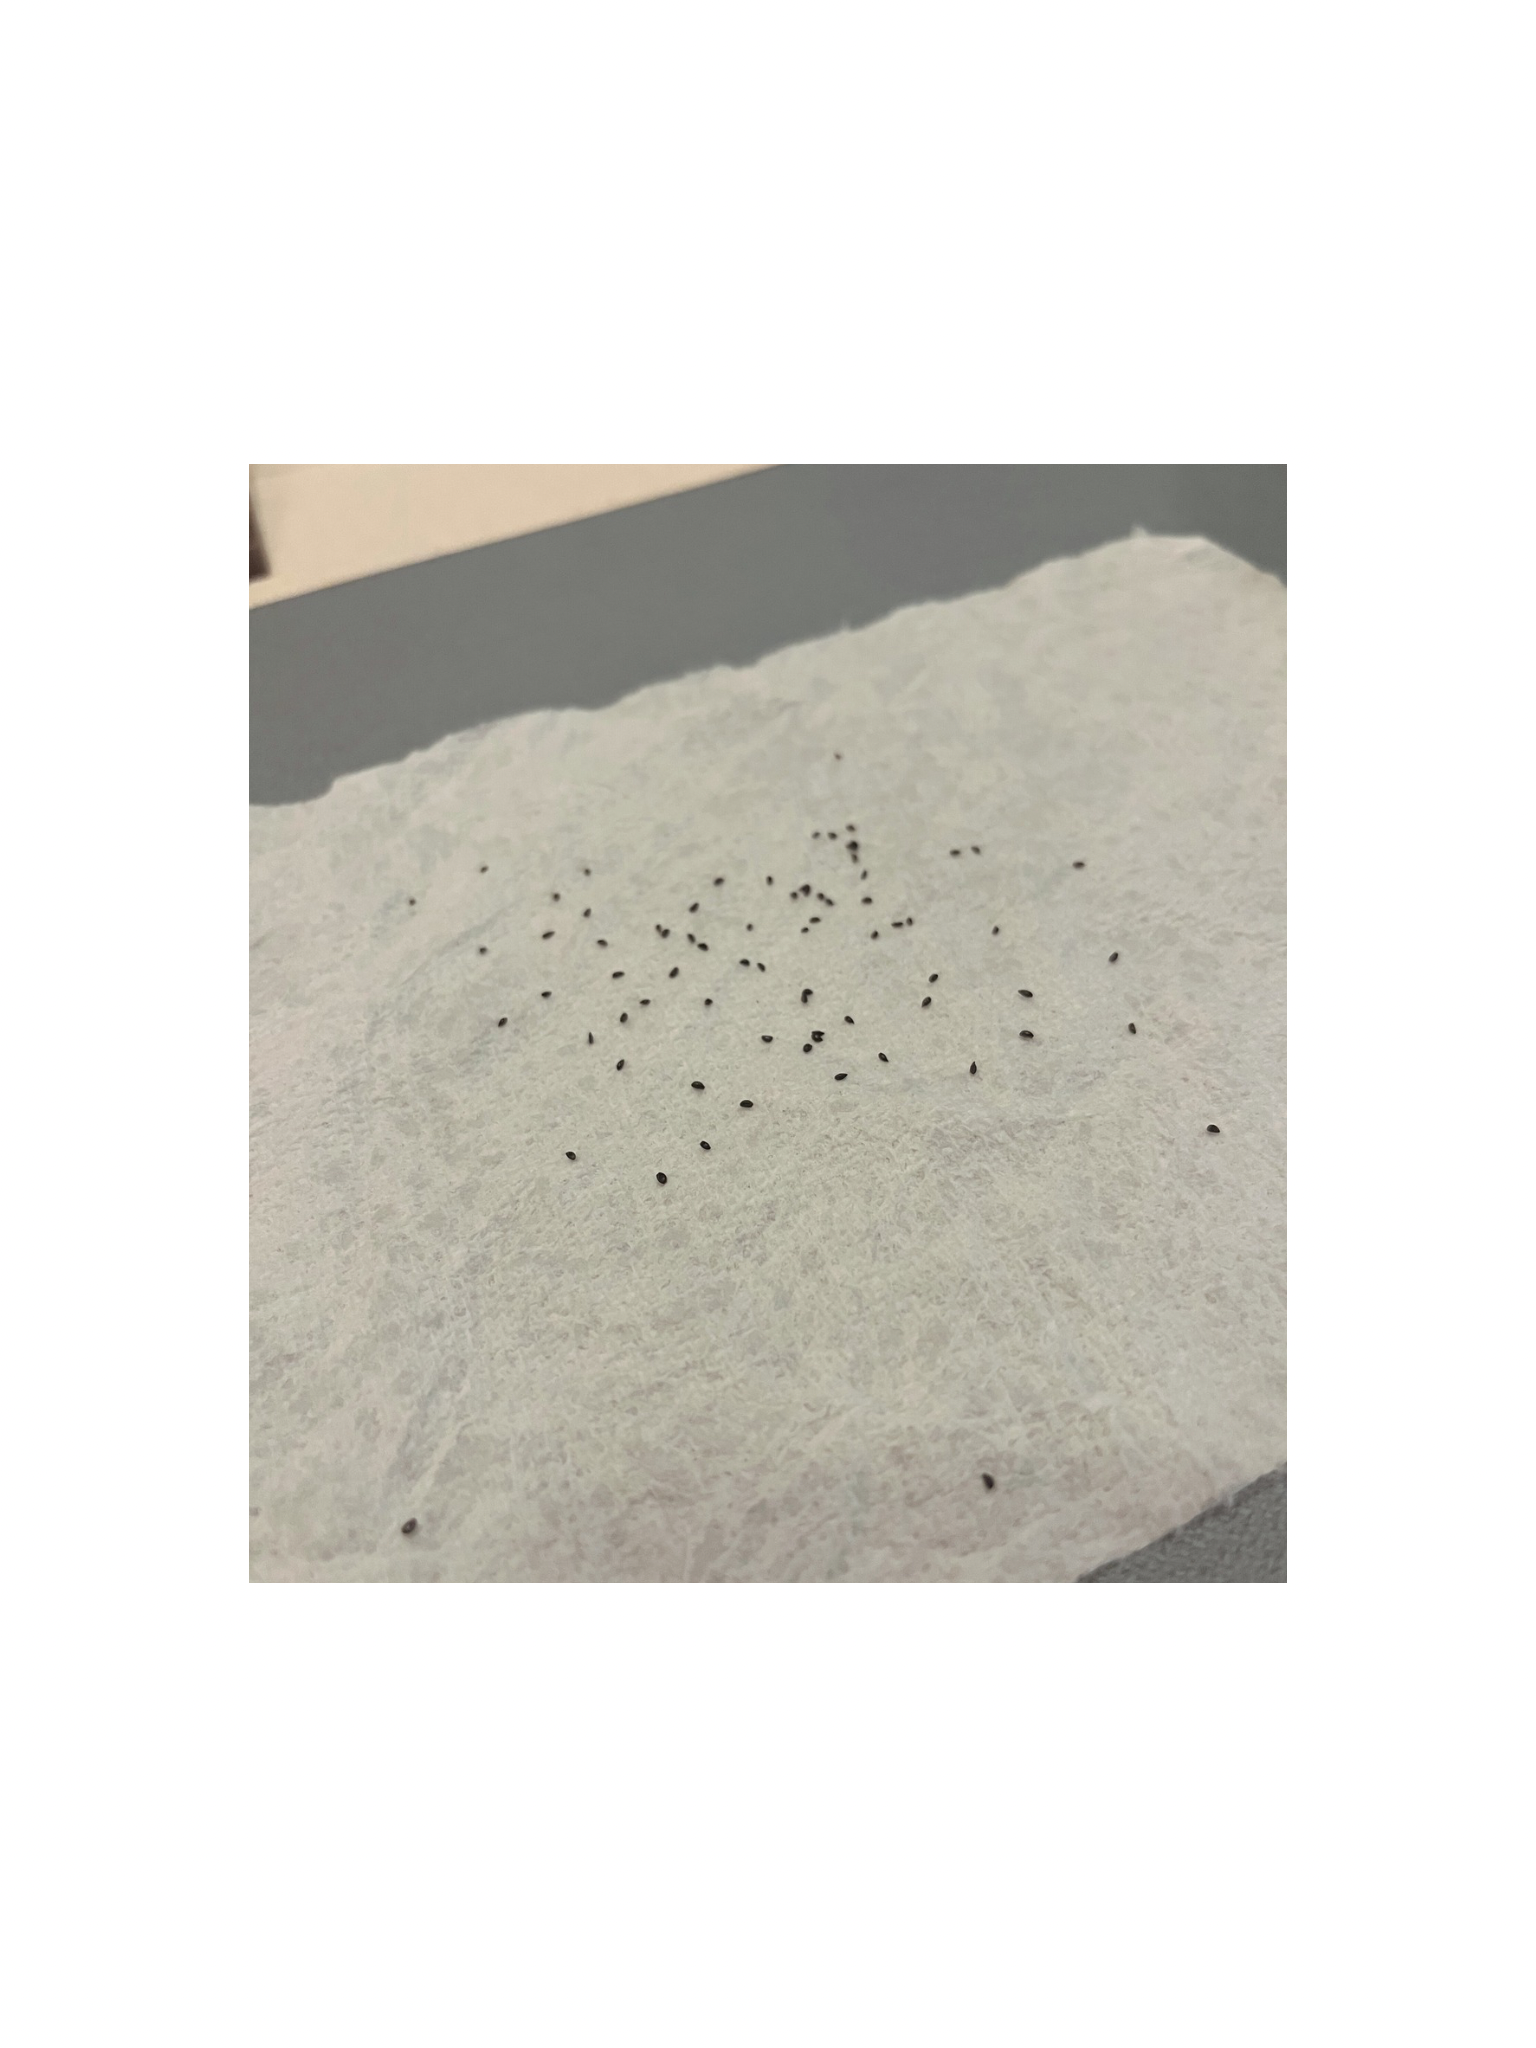
Sprinkle seeds in the middle (one species per towel). Roughly double or triple the number of plants you want, not all of them will germinate or grow to adulthood. If the seeds are as small as dust just tap out what you think is enough from the seed packet, you won’t be able to count them.
Spread the seeds as best you can. We’re just trying to give the dudes some room, it doesn’t have to be perfect.
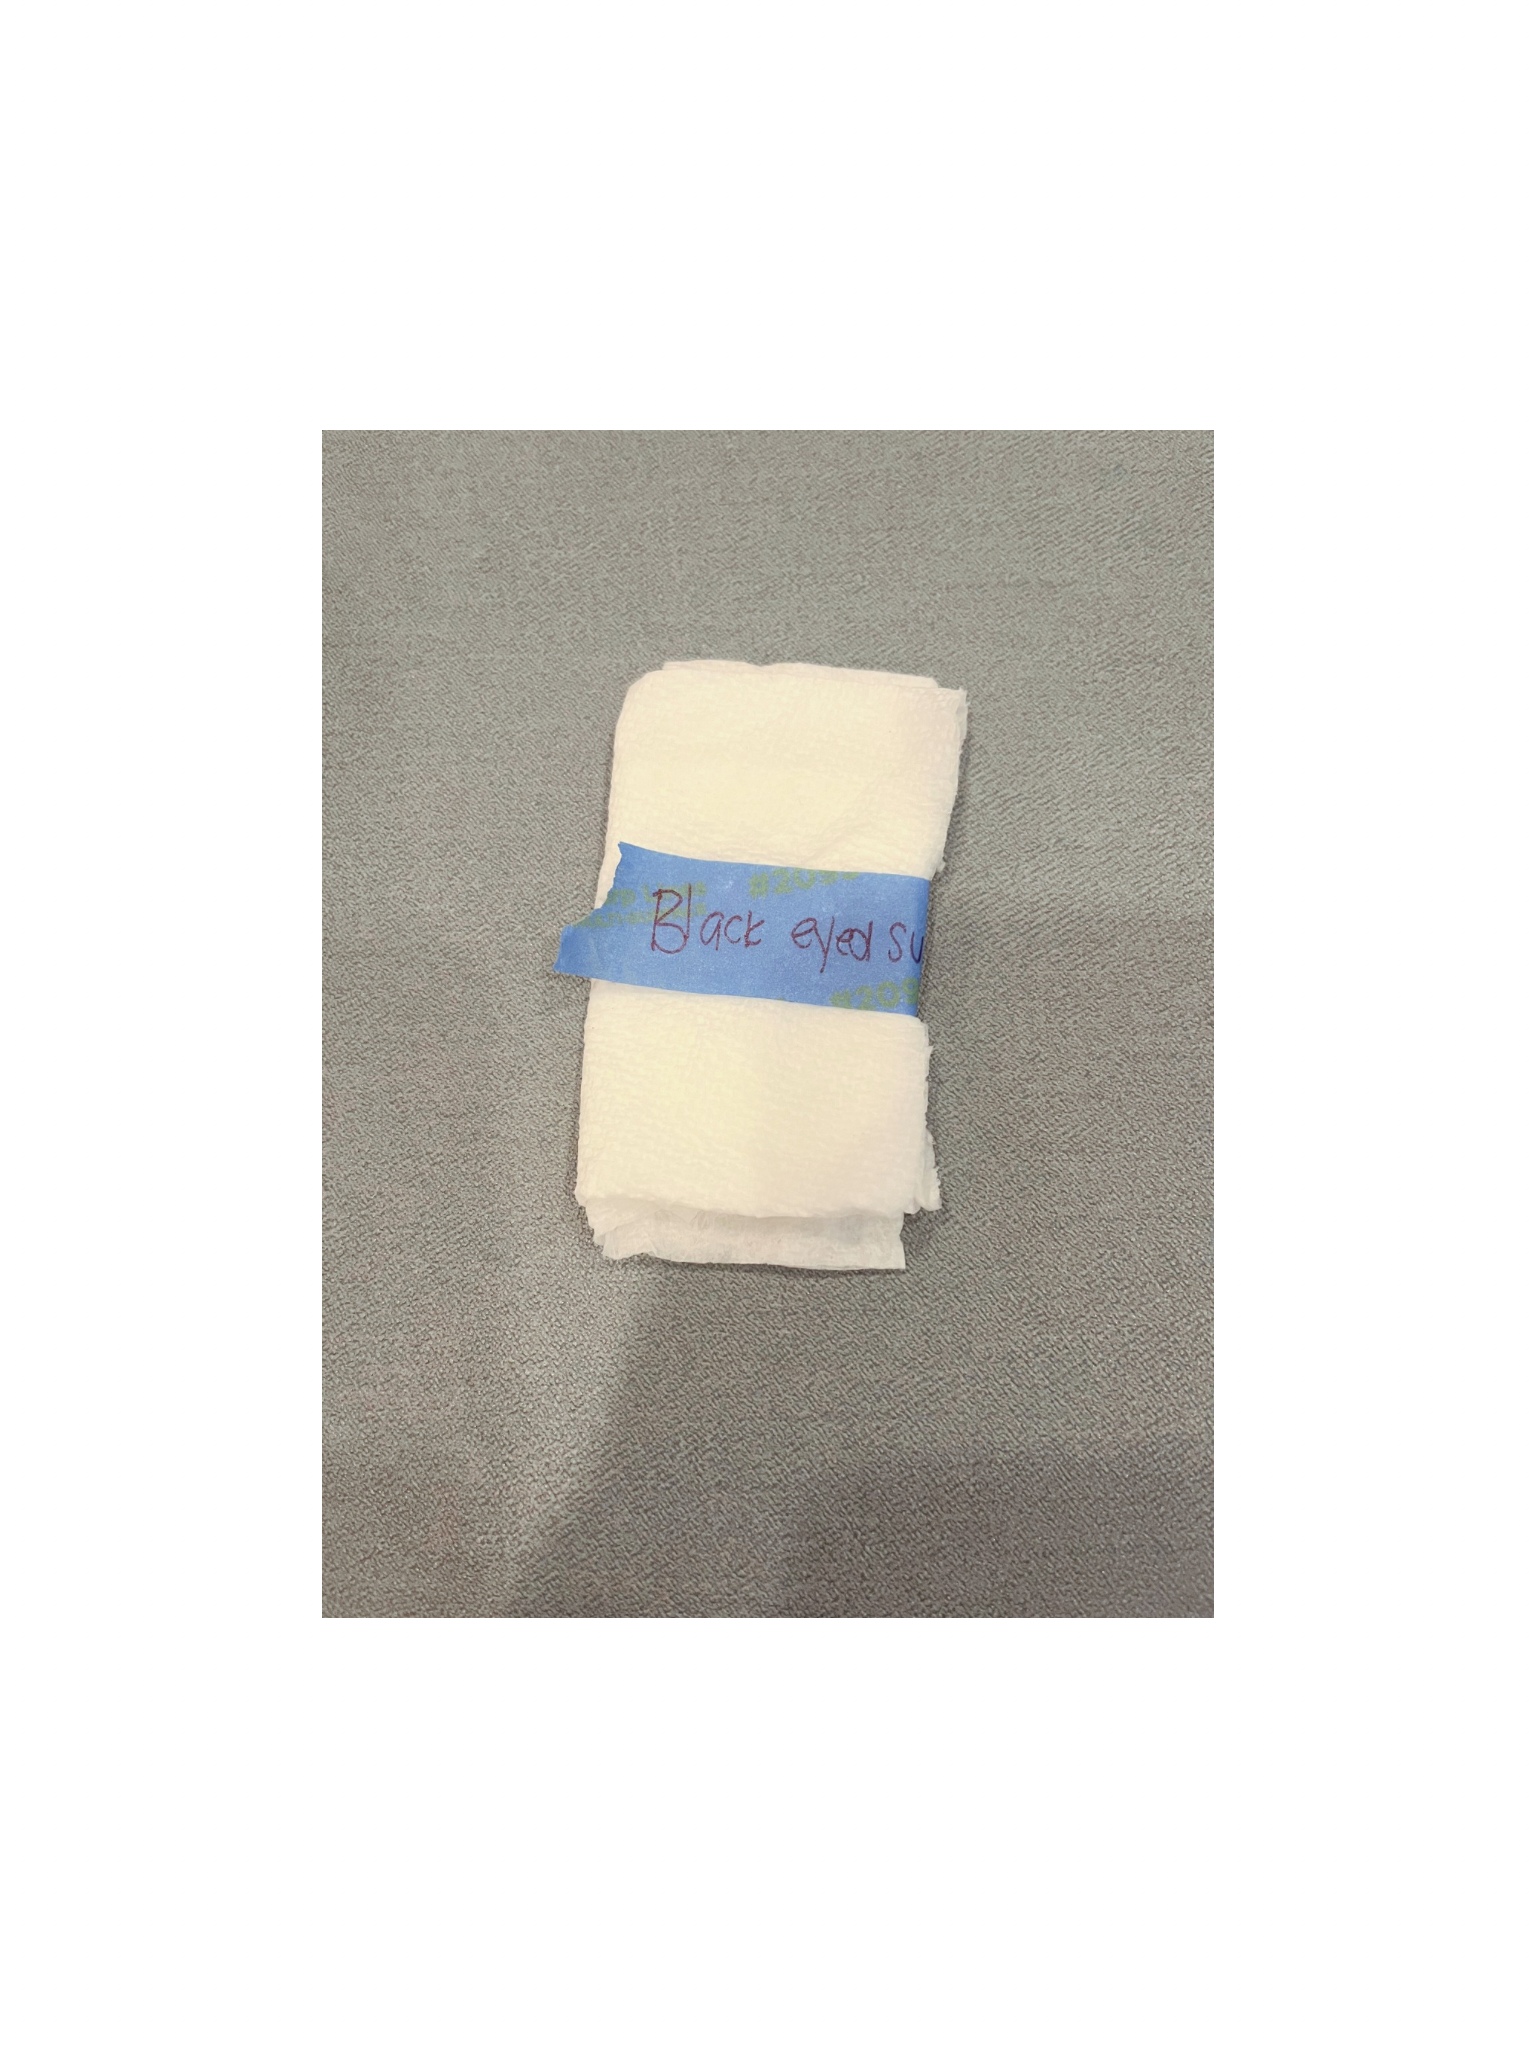
Fold the towel into a small packet to keep the seeds in.
Label it. (I use painter’s tape wrapped around the packet with the plant name + date.)
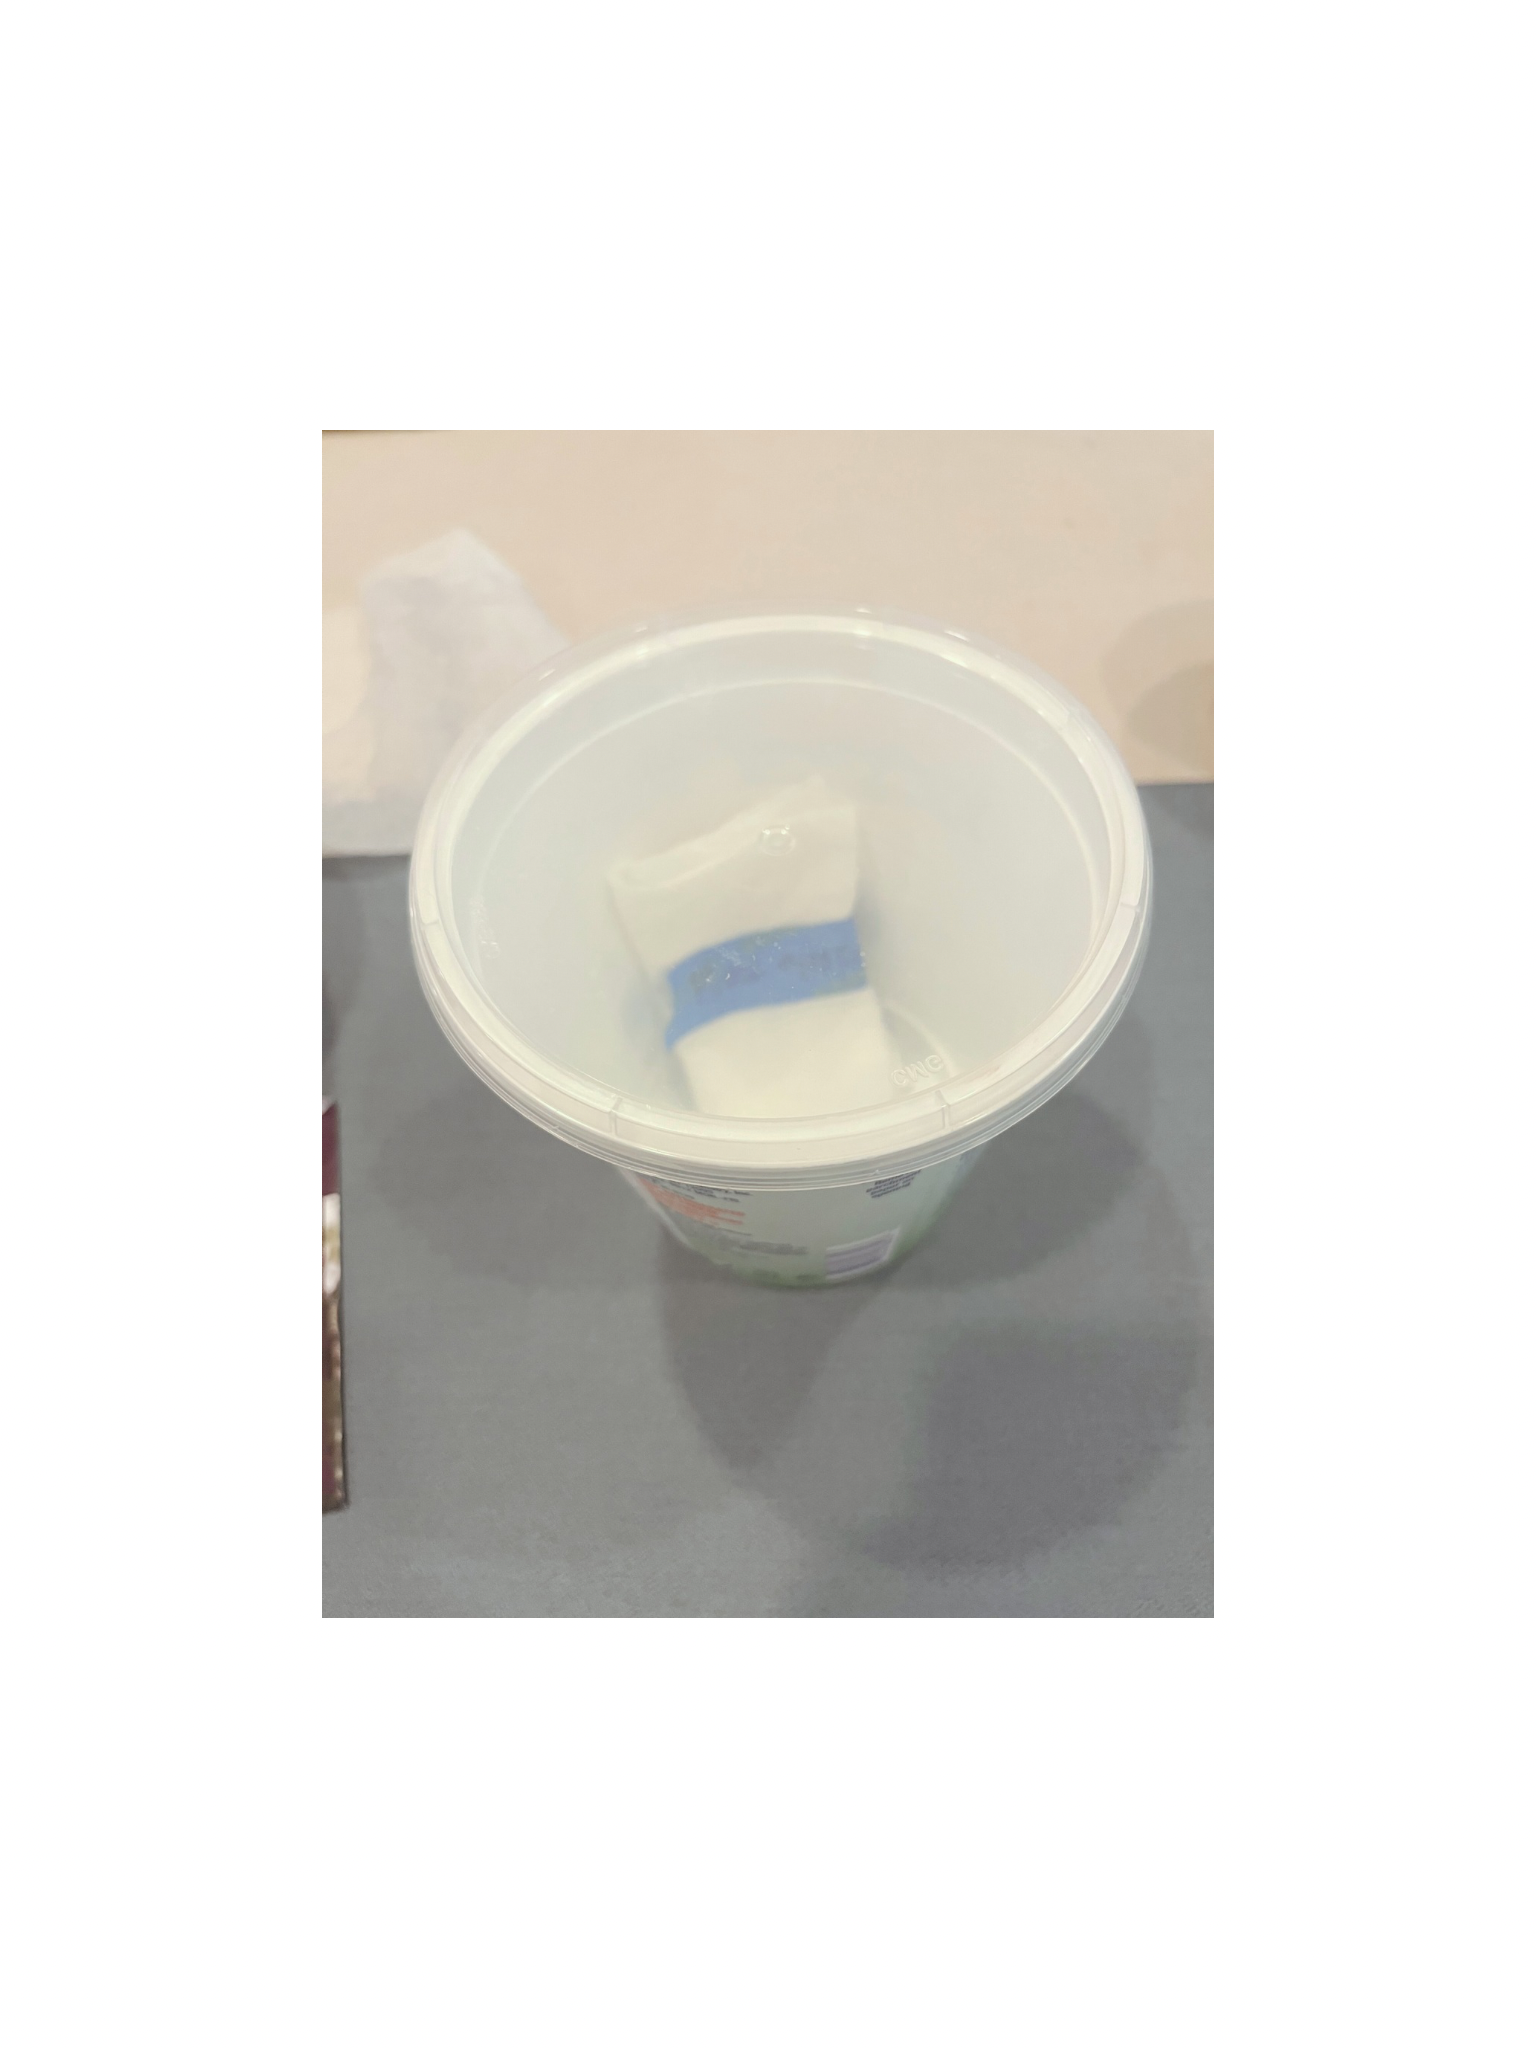
Place the packet in a sealed plastic container and pop it in the fridge.
Set reminders for the stratification period (usually 10, 30, or 60 days).
Check every few days. Replace towels if they dry out or get funky.
If seeds sprout early, move them to soil immediately. Otherwise, once the stratification period ends, transfer them all to soil in trays or cells.
Put the seeds outside even if it’s still cold. The seeds will know what to do with the temps, and they’ll start to get the light they need. All the plants listed below want full sun, so place them accordingly and water as needed.
If you are like the seeds (slightly masochistic) and you would like to do this stratification outside in the frigid tundra, check out this post for a planting experiment I’m working on.
6 Native Seeds to Sow Now That Will Bloom in the First Year
(Cheap, fast, and gorgeous. And all natives to the Great Lakes Region! Jeremy and Aragorn will both swoon, but you know what? Fuck ‘em, this is for you!)

1. Anise Hyssop (Agastache Foeniculum) So freaking reliable and gorgeous. She’s the Kate Middleton of flowers. But unlike Kate, She’ll be covered in bees from first bloom to first frost. Also great for tea. Buy here. Perennial. 30-day stratification (start February or early March).
2. Partridge Pea (Chamaecrista fasciculata) This was a delight to grow last year. It was my first time and every time I thought it was done, it kept going. And when it was finally was done, these cool pea pods took over. 10/10 would recommend. Buy here. Annual. 10-day stratification (started in March or early April)
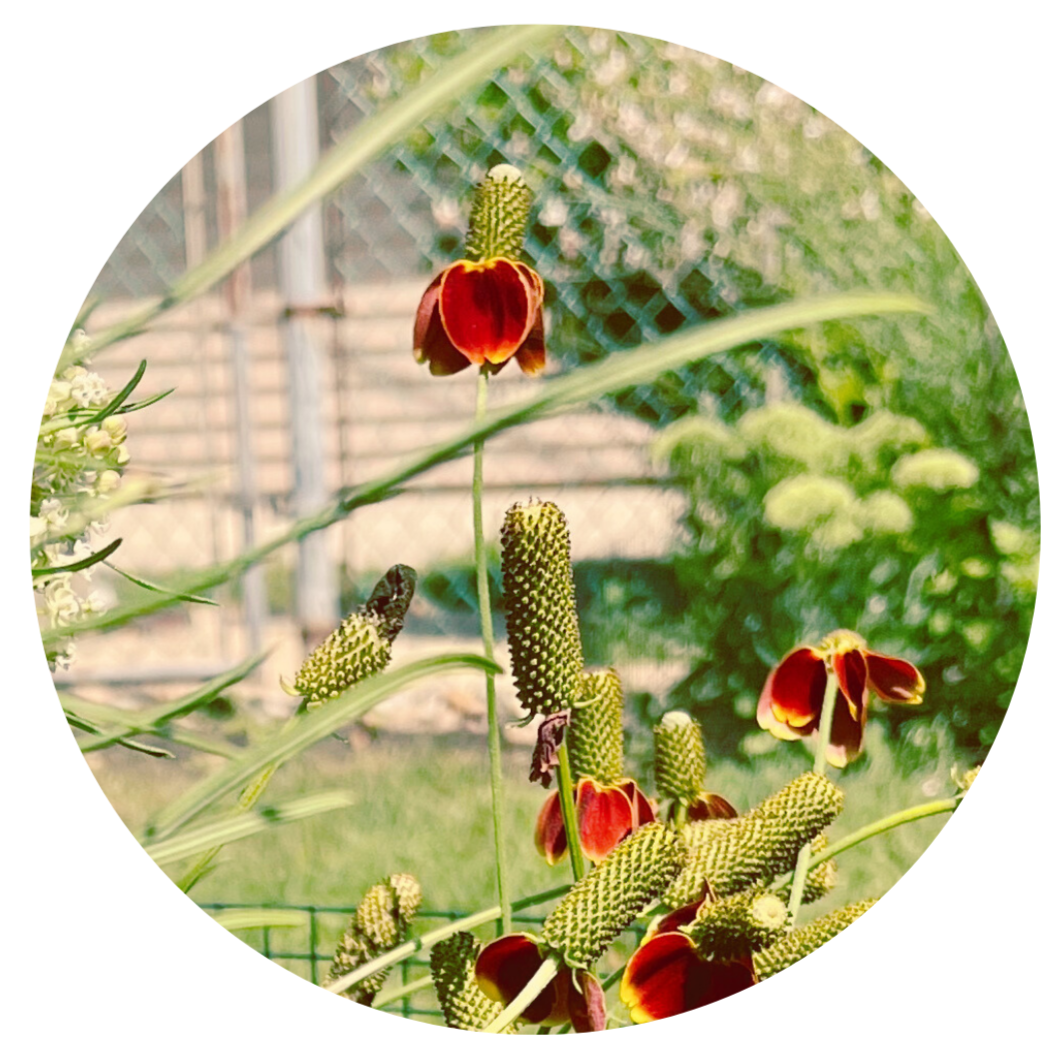
3. Mexican Hat (Ratibida columnifera) I don’t know about this name, but the flower itself is delightfully spicy and whimsical. Buy here. Perennial. 30-60-day stratification (start January/February).
4. Northern Sea Oats (Chasmanthium latifolium) These are just a joy. The oats float like dainty ornaments. And the grassy effect will make the surrounding flowers pop. Are also great for a dried flower arrangement. Buy here. Perennial. 60-day stratification (start January)
5. Pale Corydalis (Corydalis sempervirens) Dainty little fairies! Keep dead-heading them and they’ll last a good chunk of the season! Buy here. Annual. 30-day stratification (start February or early March)
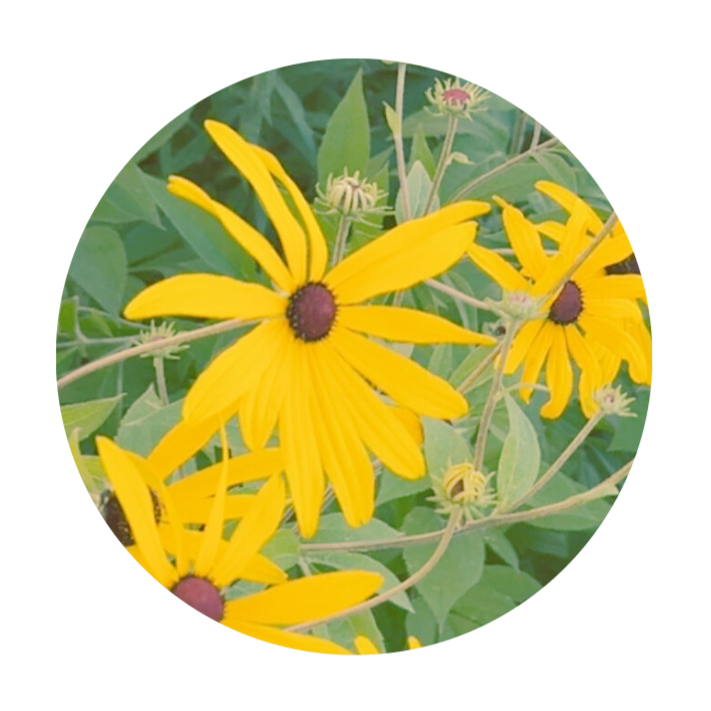
6. Black-Eyed Susan (Rudbeckia hirta) A classic queen who has earned her reign. Preferred by pollinators. Buy here. Perennial. 30-day stratification (start February or early March)
Final Thoughts…
My experiences with these lovelies have been nothing but great. They’re easy to sprout, not too picky with growing conditions, and spread well, making them great doers, especially for a new garden bed.
Happy planting!